This guide is still being developed and is not yet complete.
Installation guideline for Windows 11 via UTM (macOS - M series)
This guide is meant to be a continuation for the Installation guideline for for UTM (macOS - M Series).
Contents
- Installation guideline for Windows 11 via UTM (macOS - M series)
- Download Windows 11 ISO
- Set up the Virtual Machine
Download Windows 11 ISO
Download CrystalFetch
As stated on the UTM Guide for Windows 11:
The easiest way to obtain a Windows installer ISO is with CrystalFetch on macOS, a free utility for legally obtaining the newest Windows builds from Microsoft.
CrystalFetch is a MacOS app that you can use to download Windows Installer ISOs.
Step 1: Open the link to download CrystalFetch.
Result: CrystalFetch will be Downloaded.
Install CrystalFetch
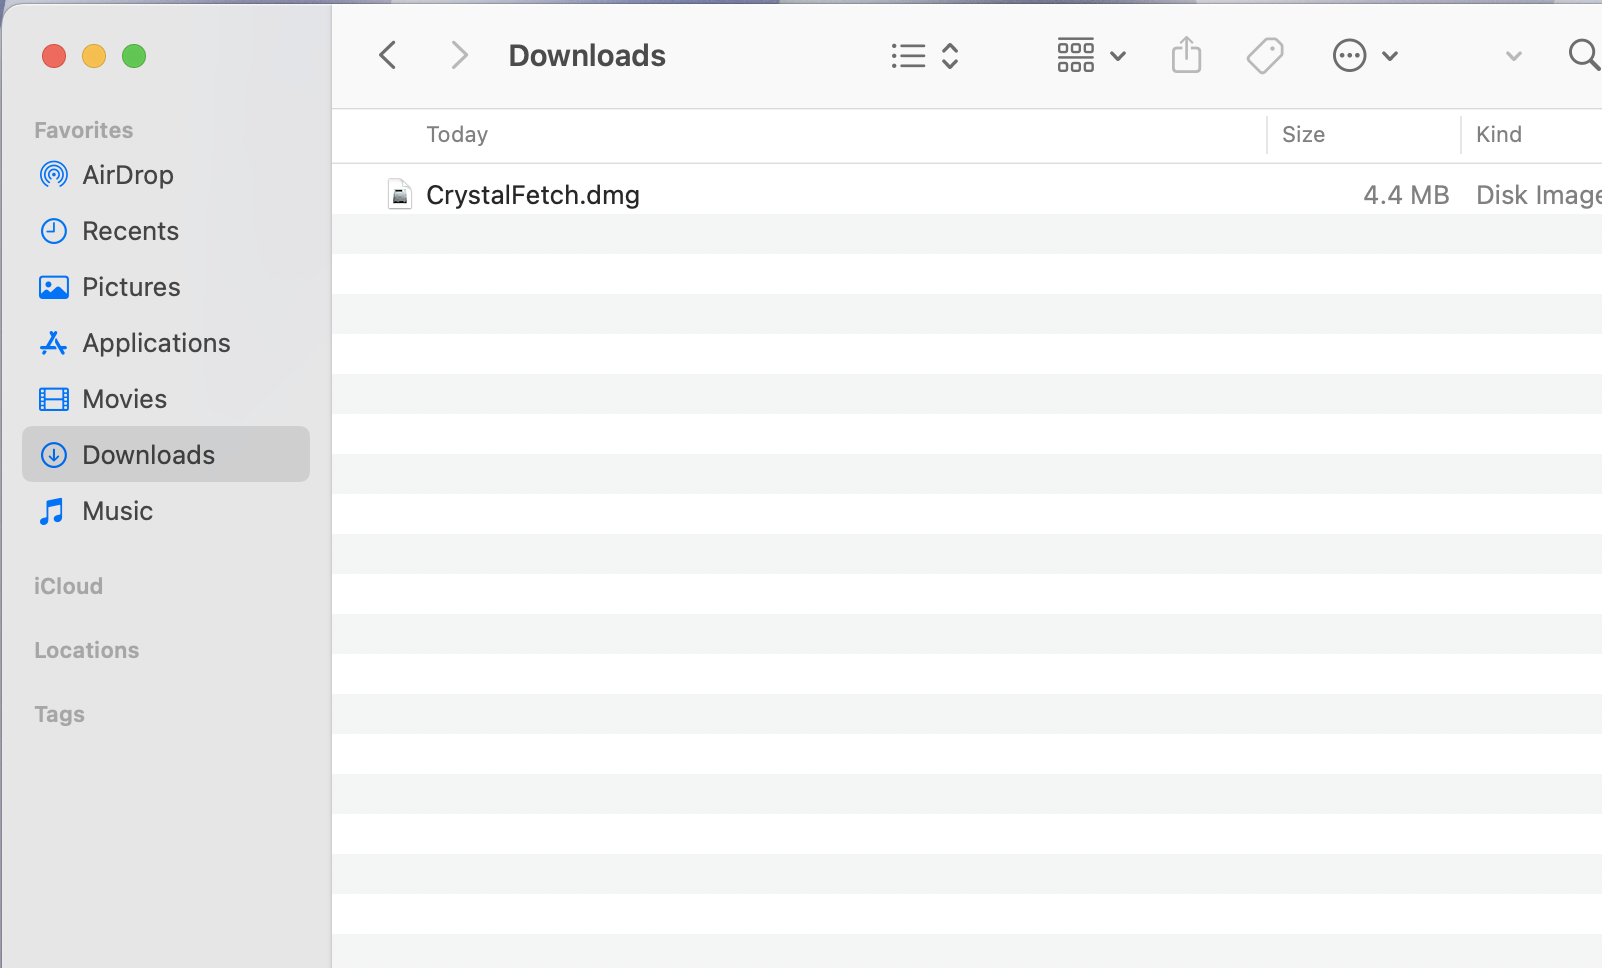
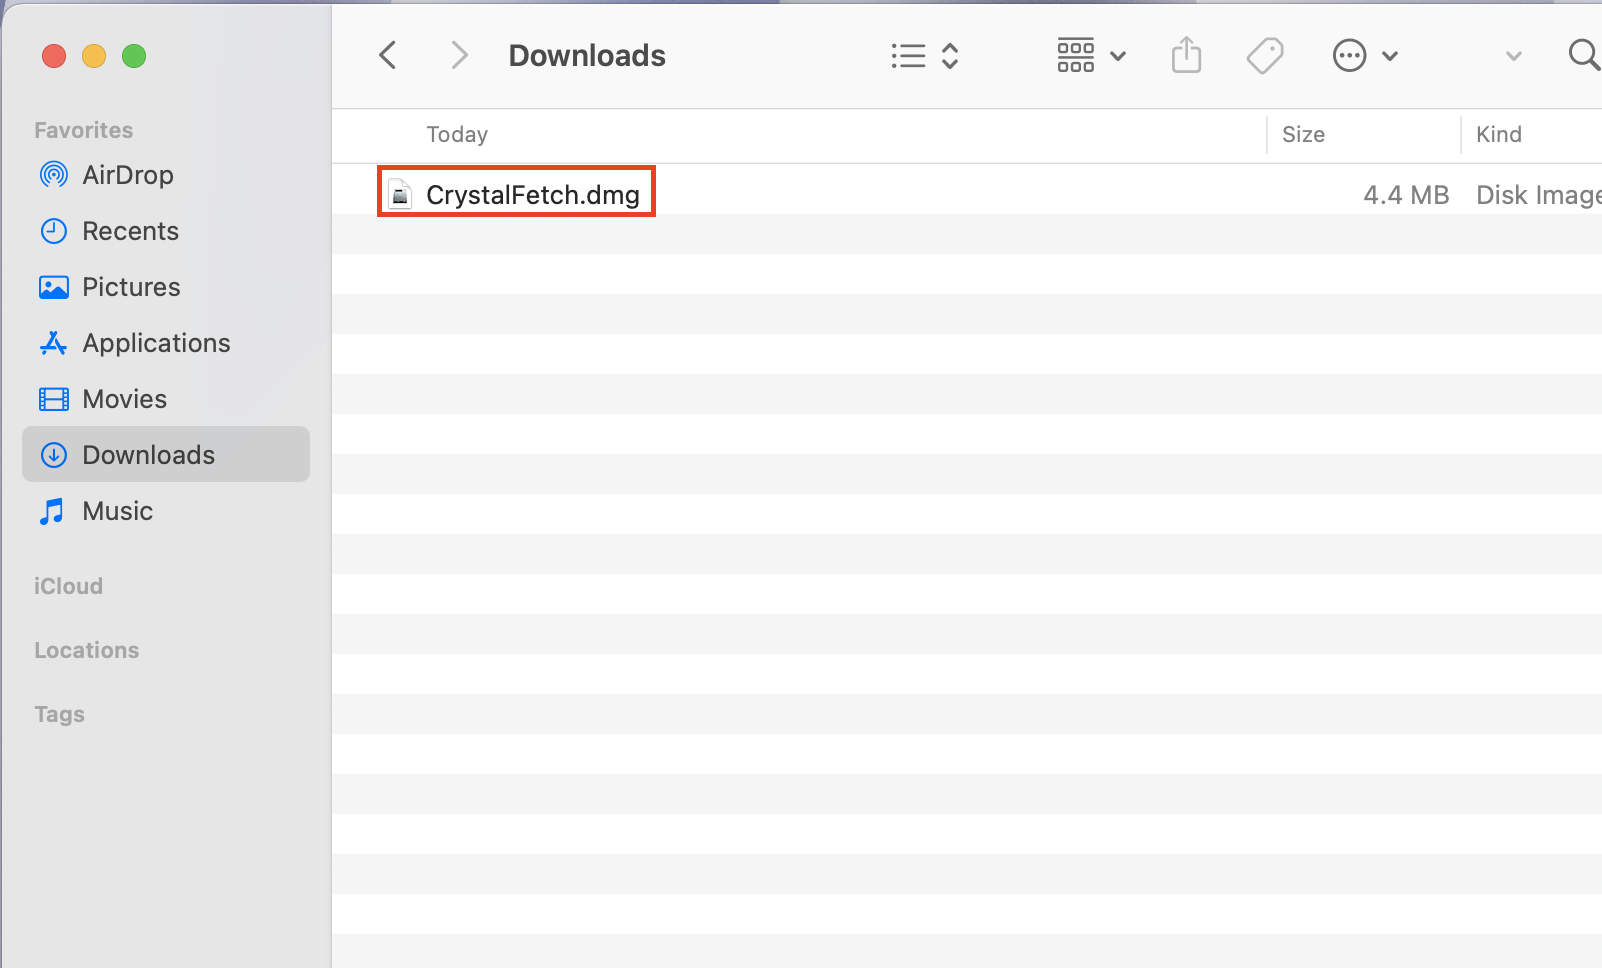
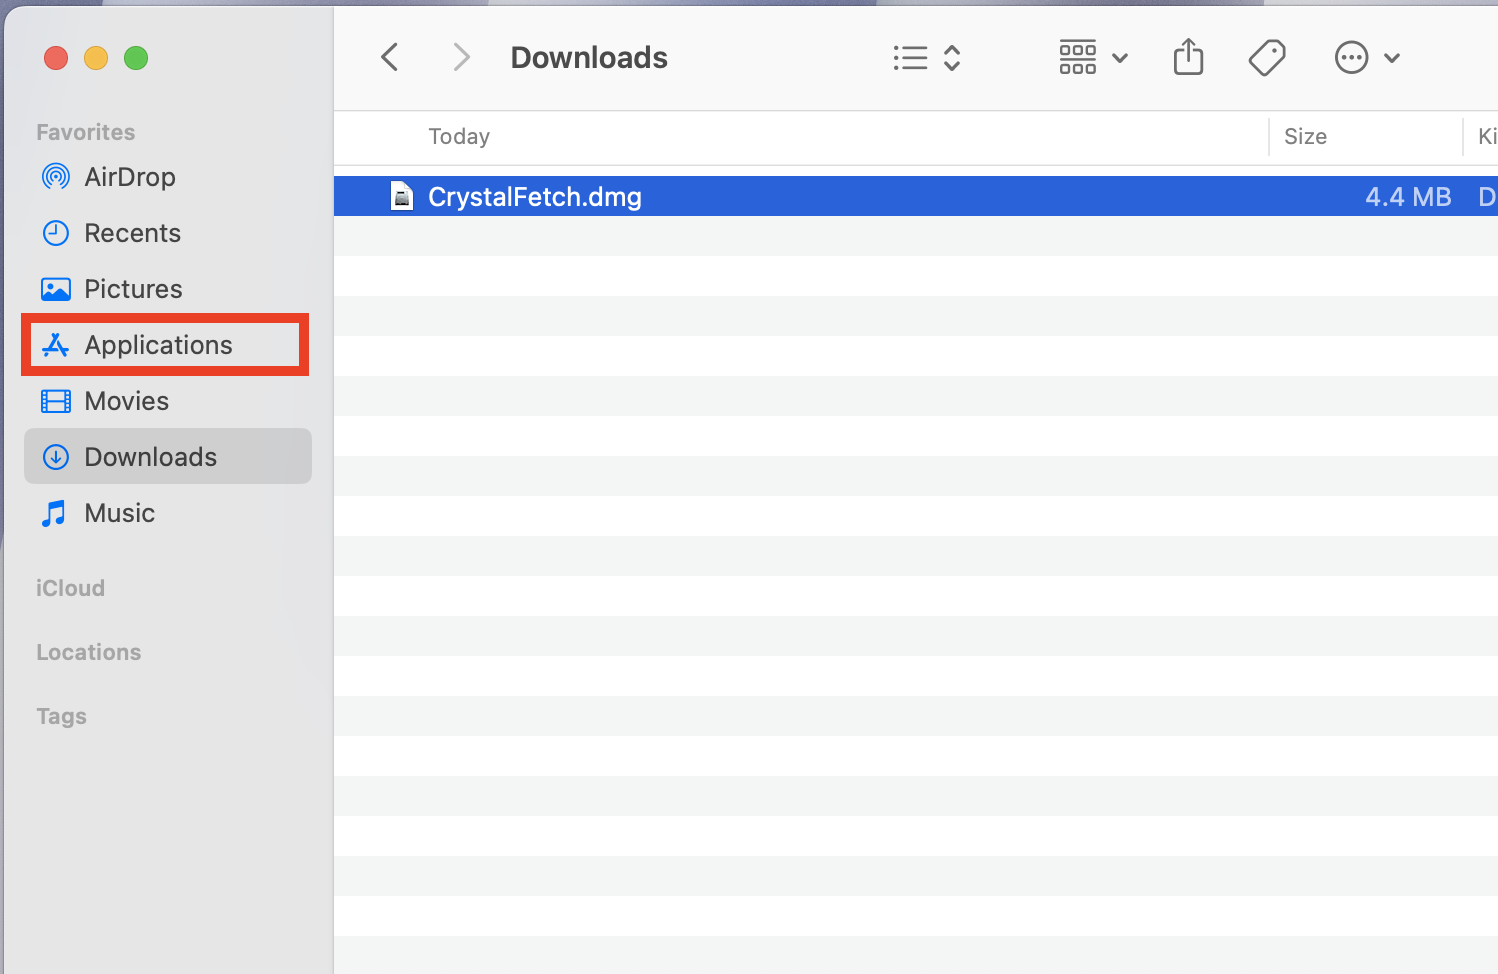
Step 1: Double click on the CrystalFetch.dmg.
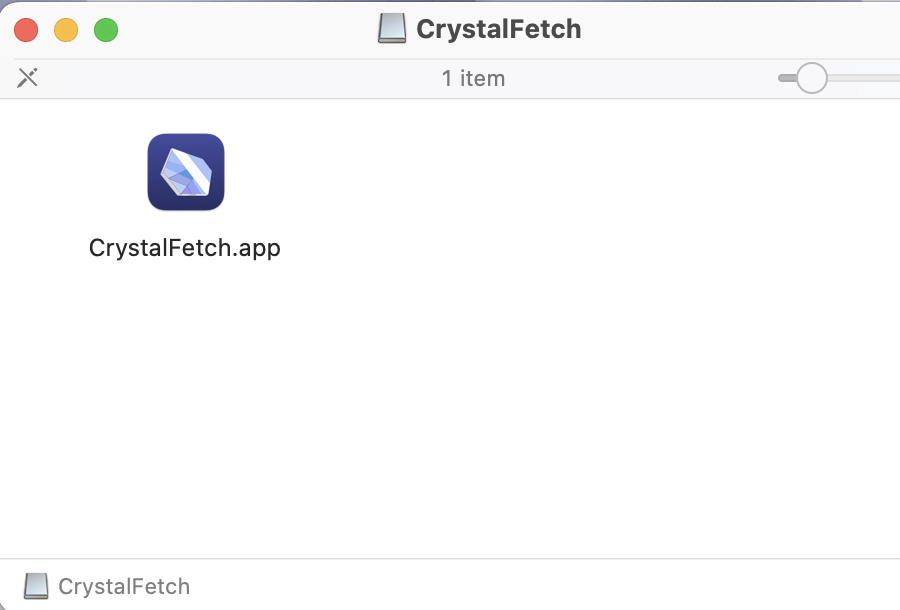
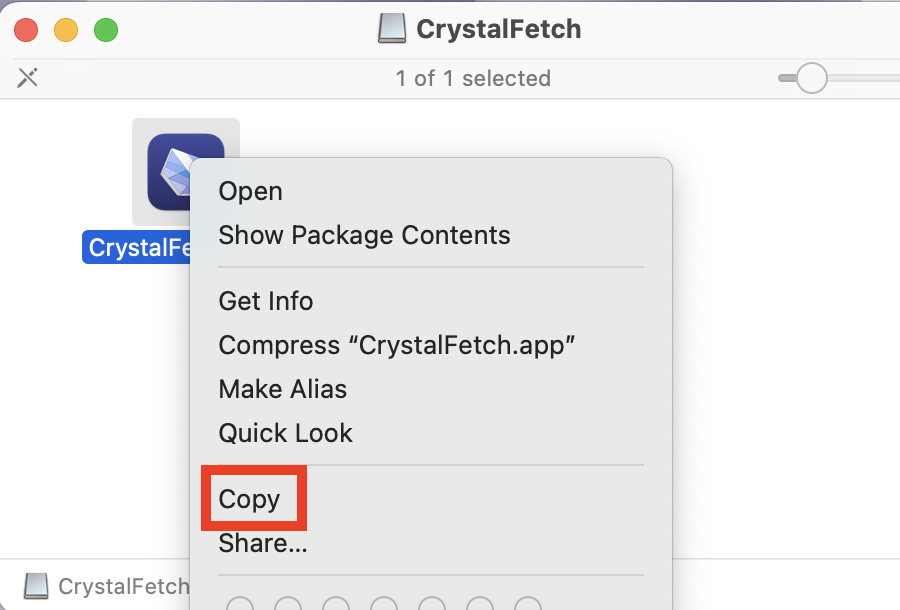
Step 2: Right click and Copy the CrystalFetch App.
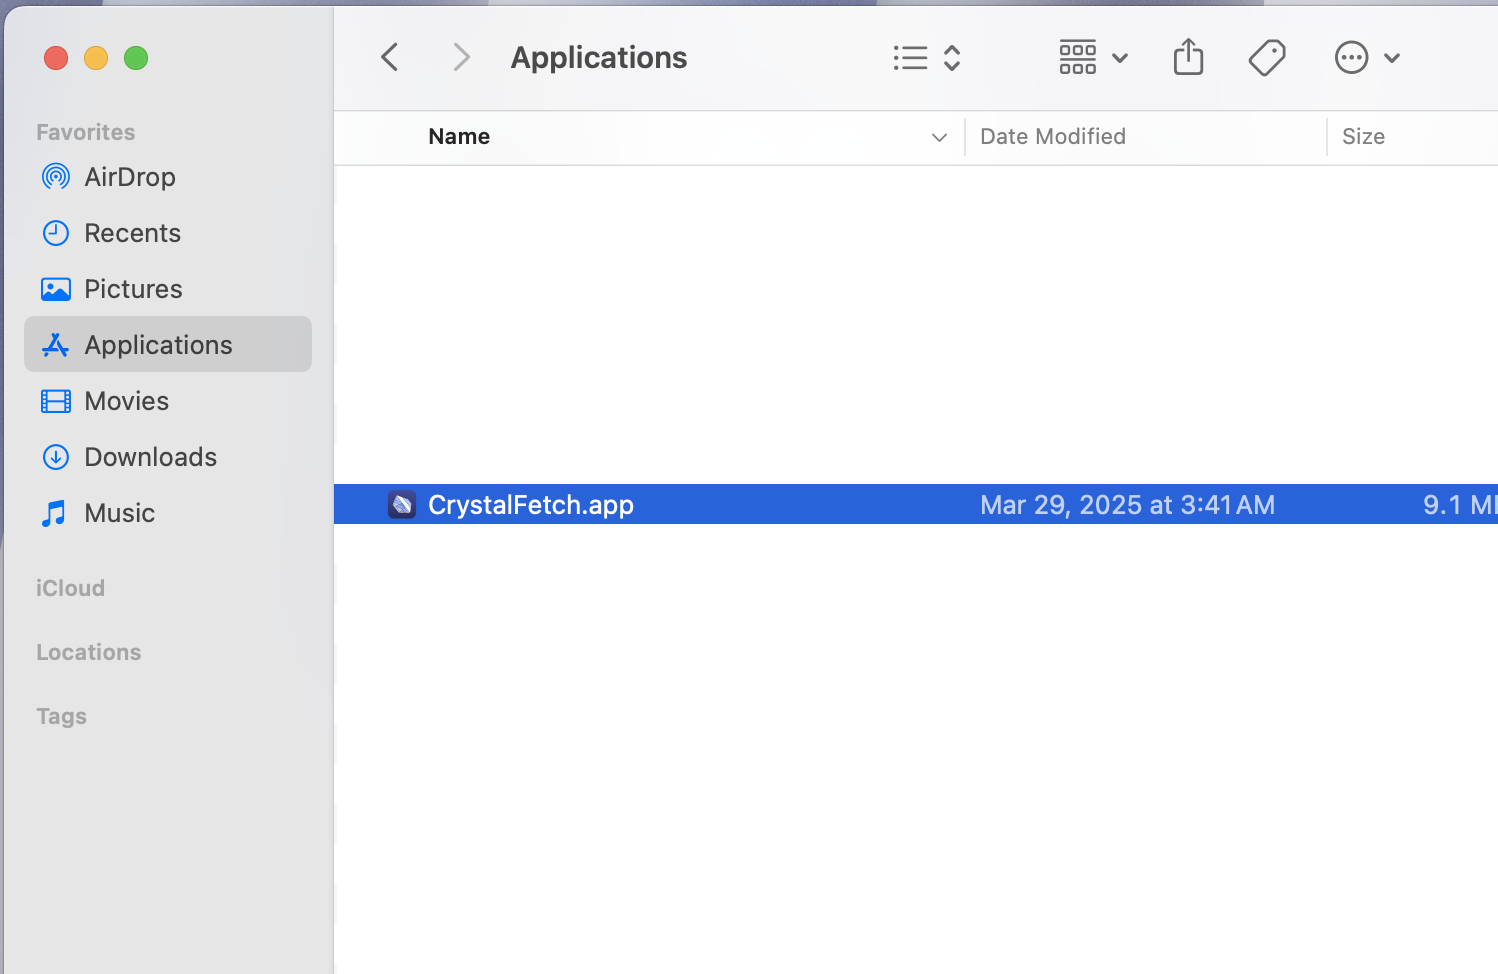
Step 3: Open the Applications folder from the Side menu.
Step 4: Paste in to the Folder
Result: CrystalFetch has been installed successfully.
Use CrystalFetch to download the ISO
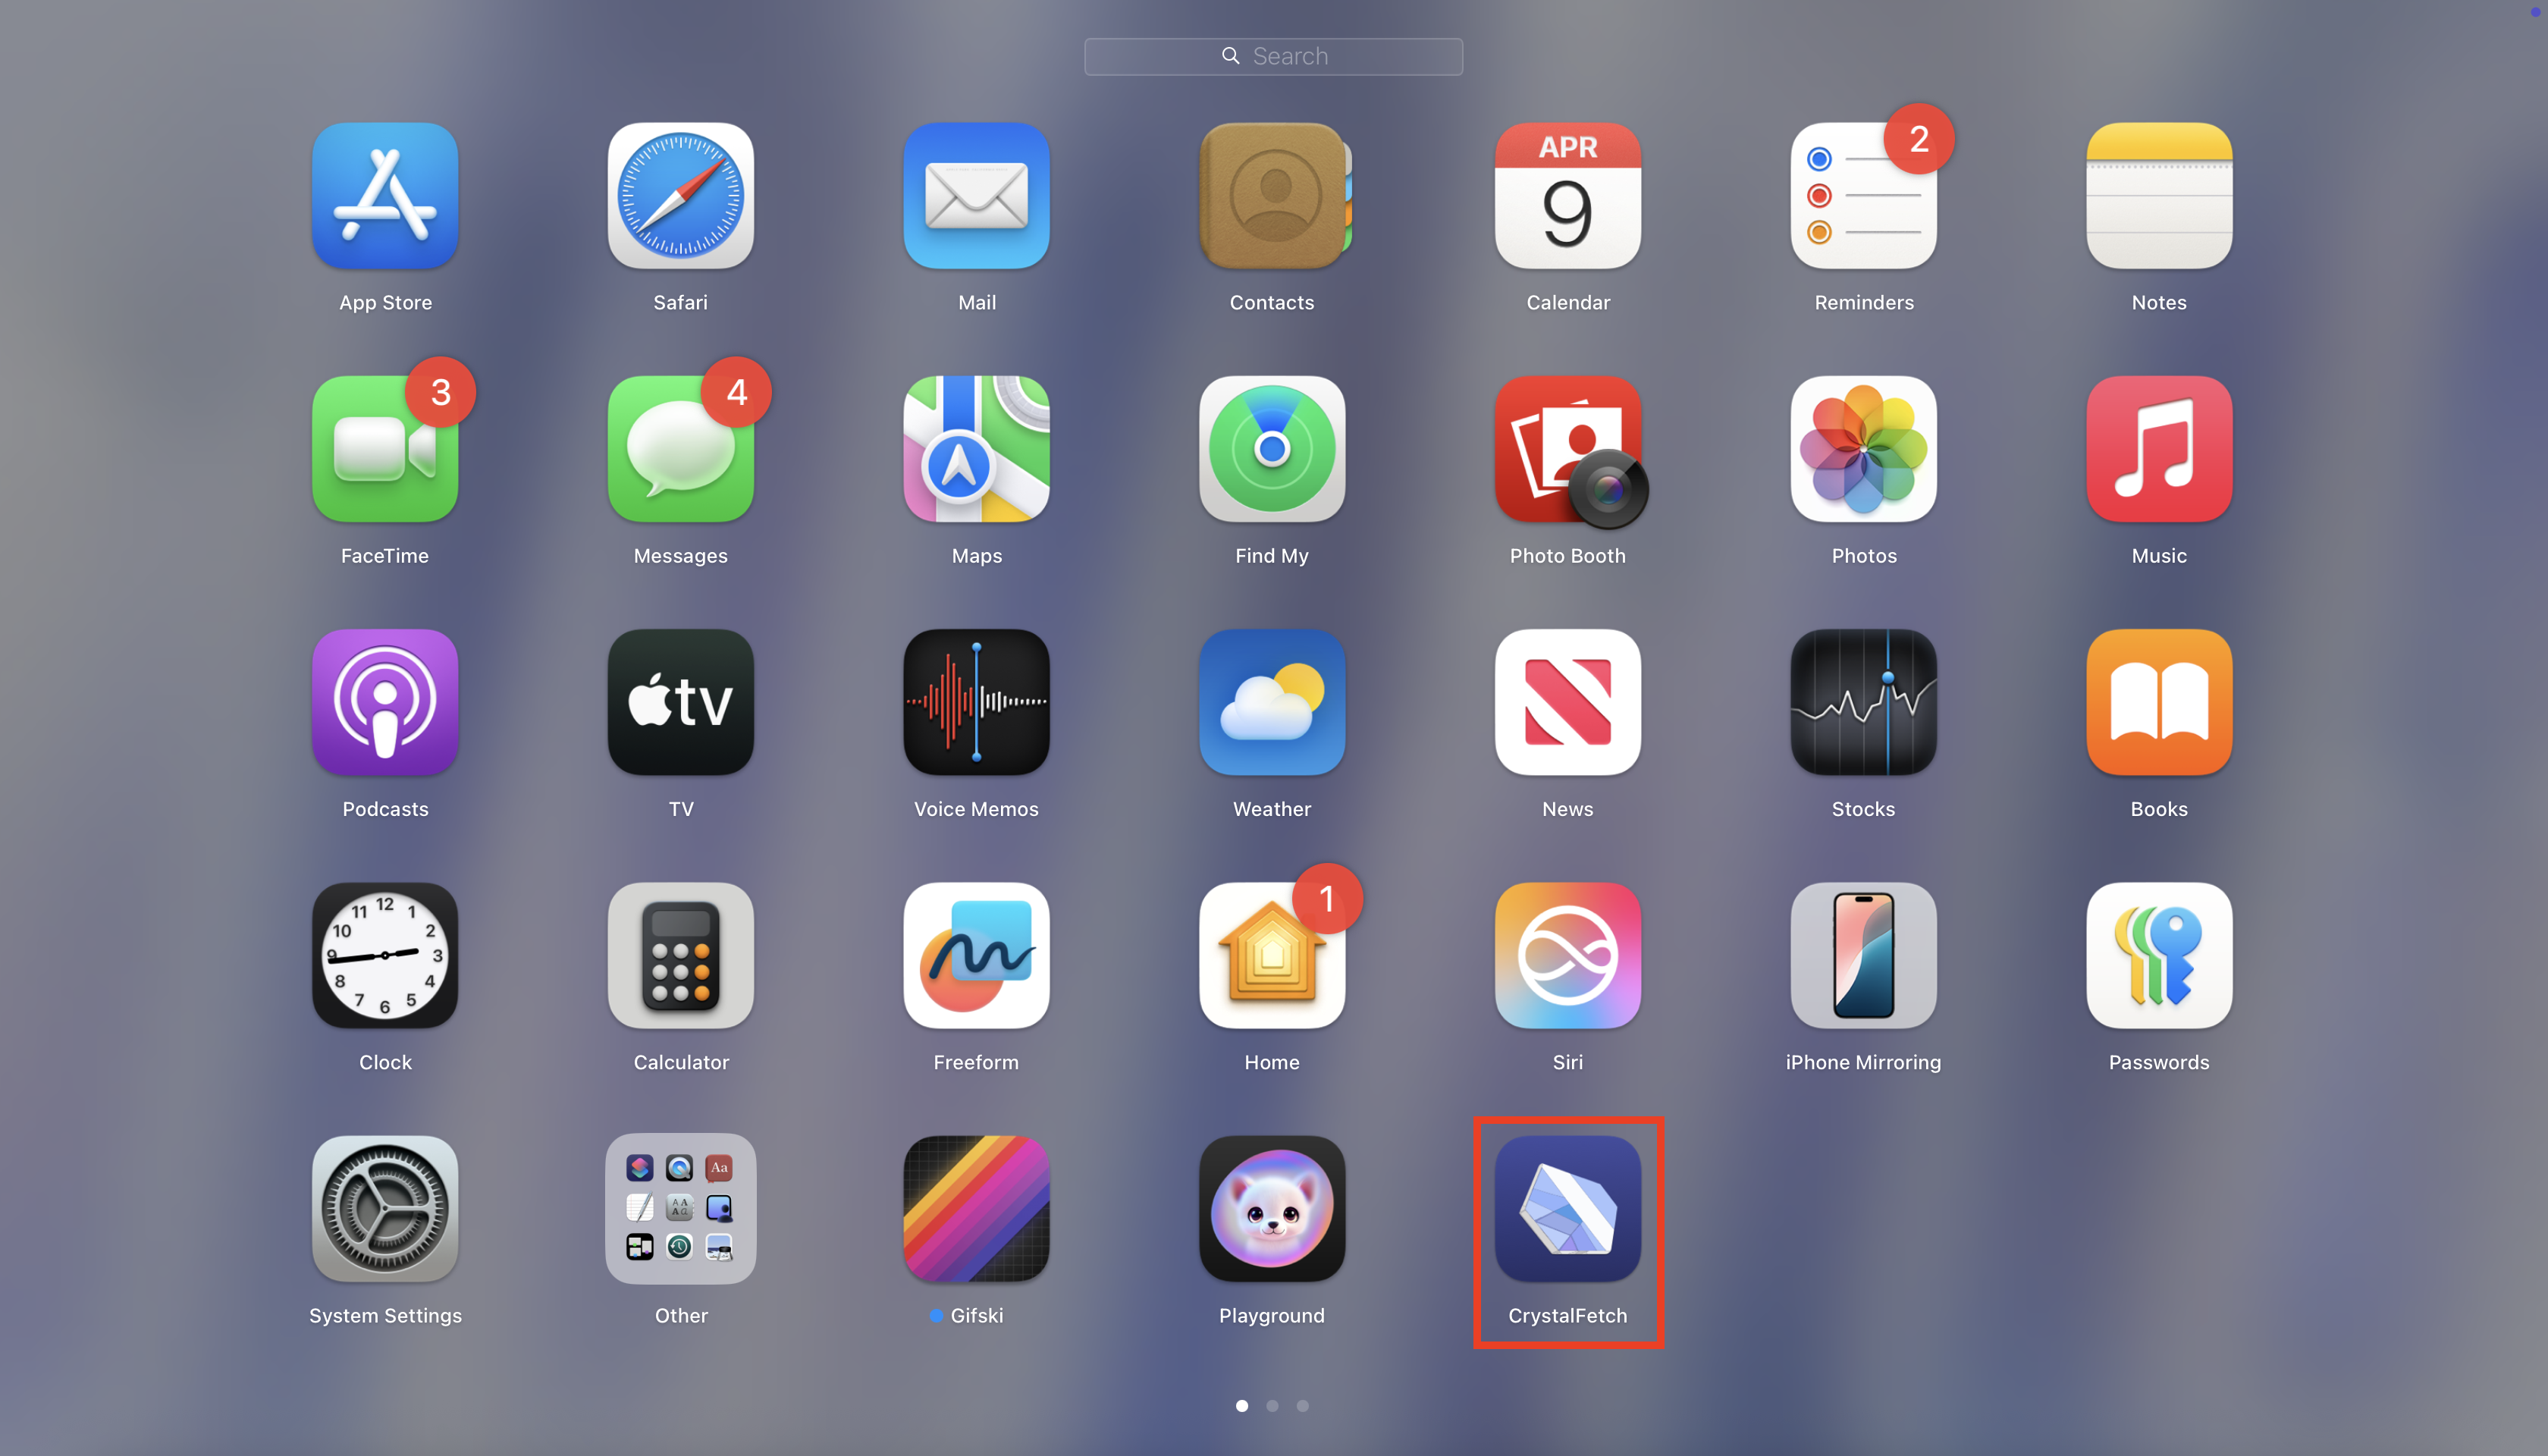
Step 1: Run the CrystalFetch app from Launchpad.
Step 1.1: Open Launchpad by clicking the following icon from the Dock.

Step 1.2: Click on the CrystalFetch Icon to open it.
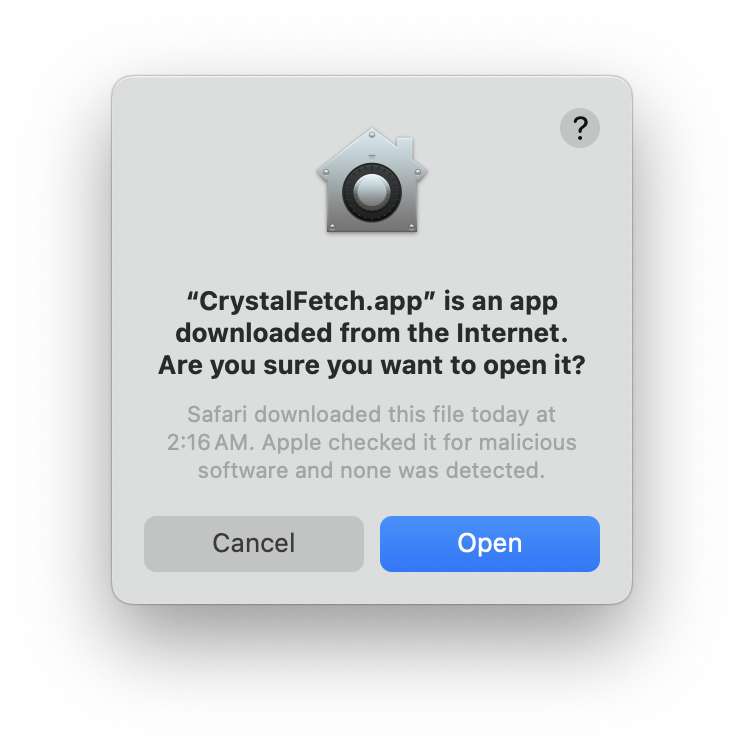
Step 1.3: Click Open
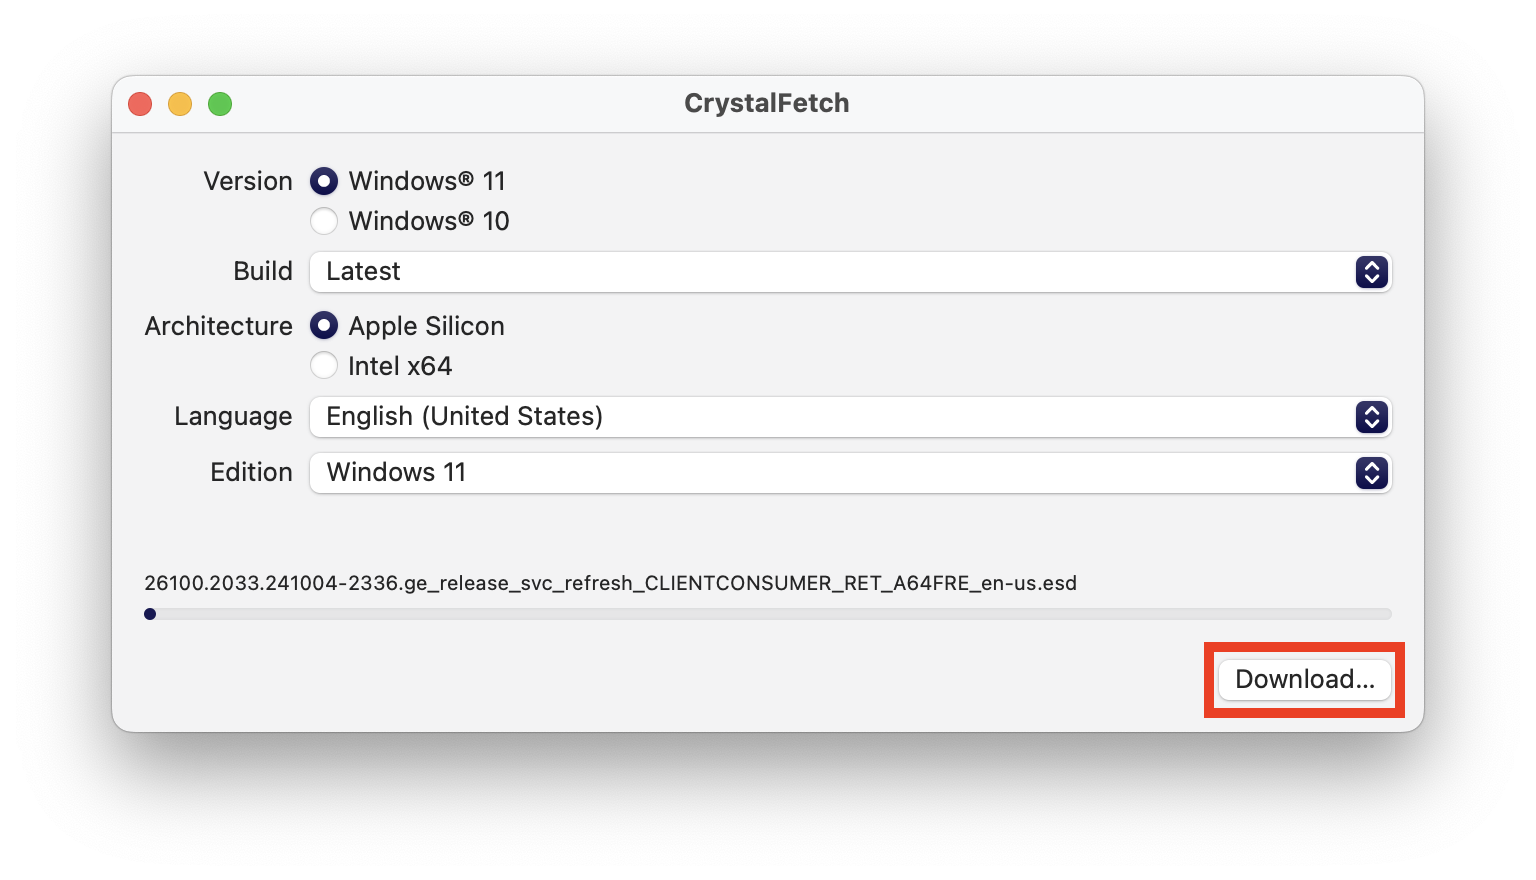
Step 2: Set the Proper settings and click Download.
Version: Windows 11 Build: Latest Architecture: Apple Silicon Language: Your preferred language (For this guide we used “English (United States)”) Edition: Windows 11
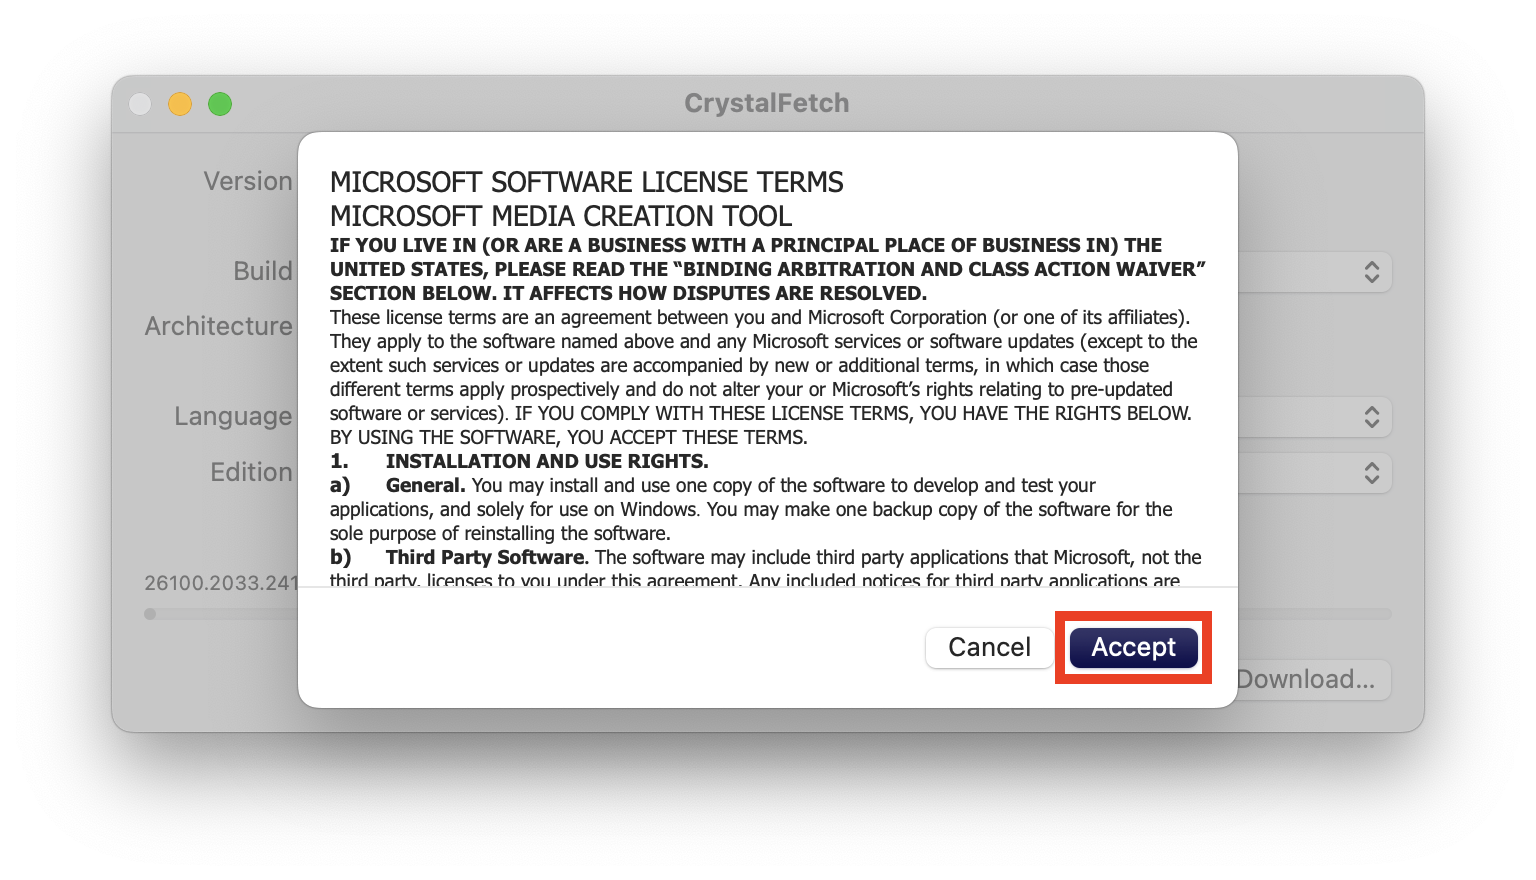
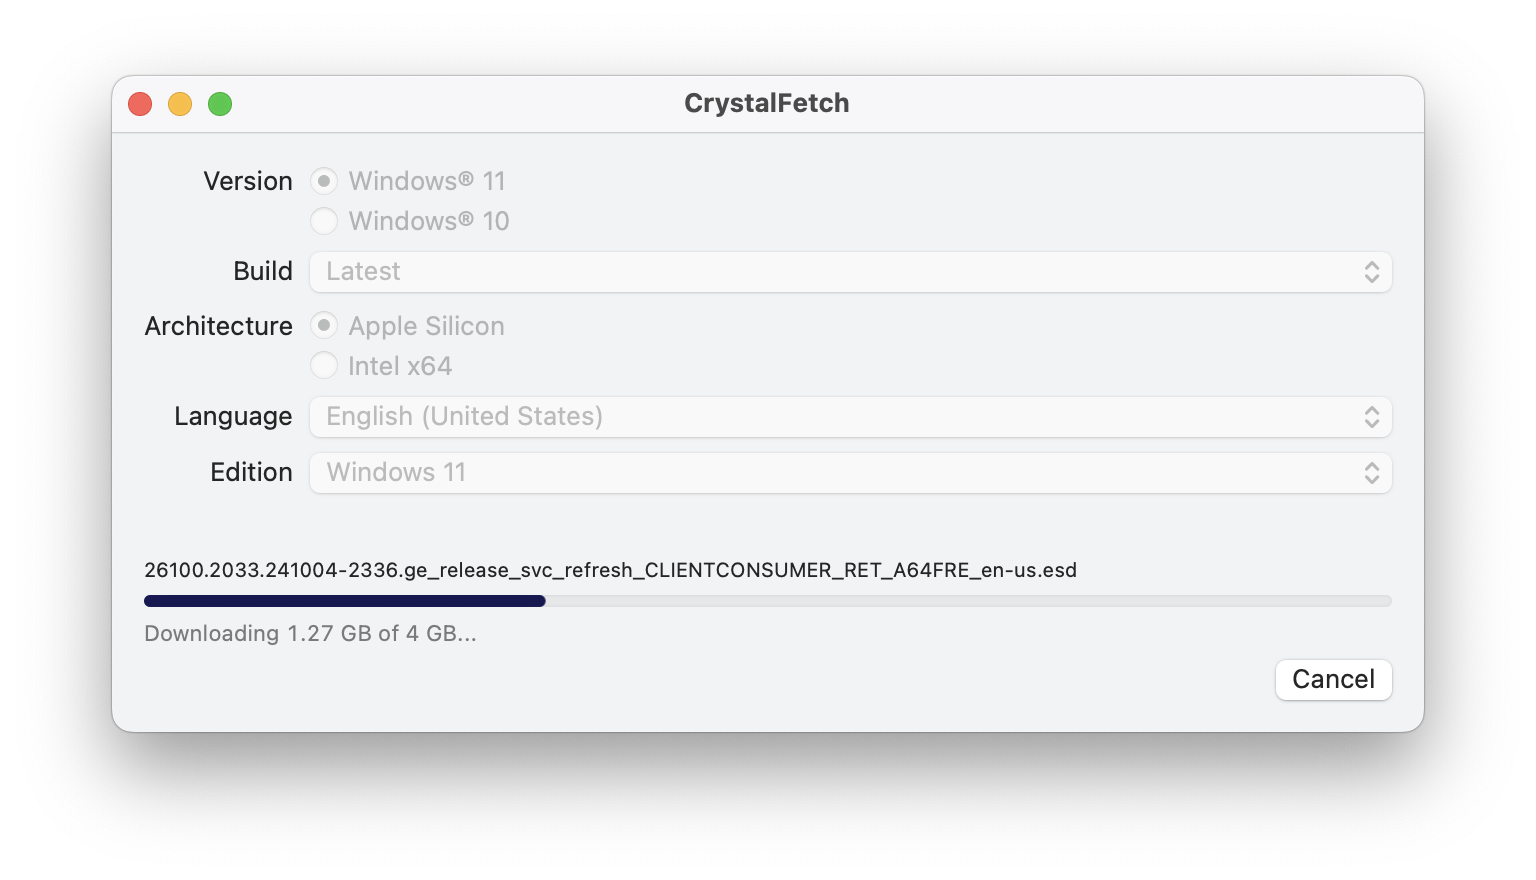
Step 3: Click Accept and wait for it to finish downloading.
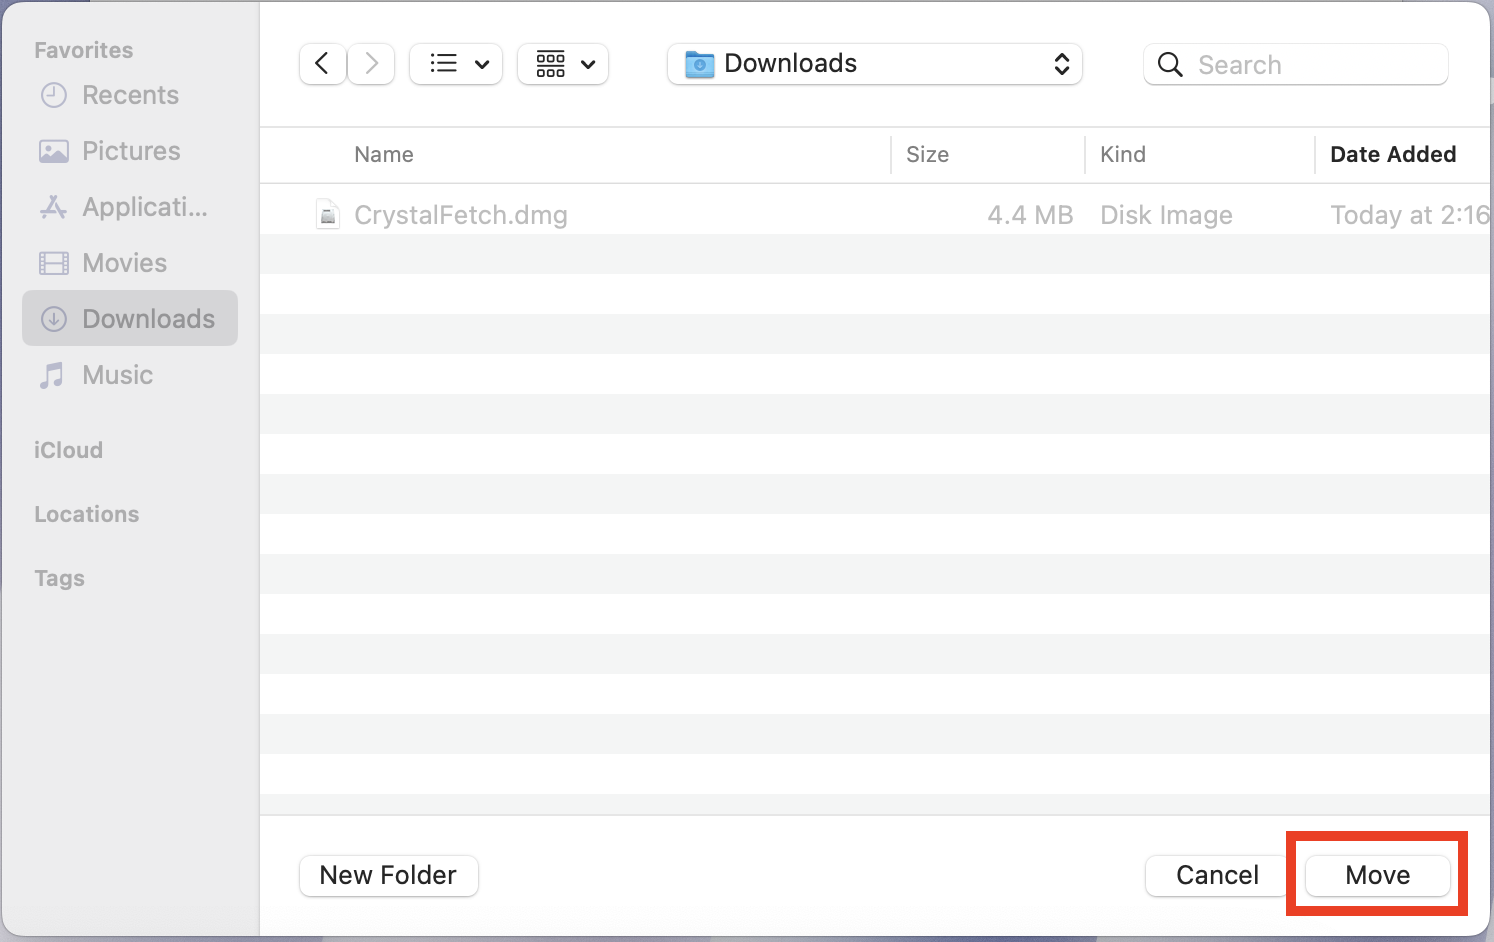
Step 4: Save the downloaded ISO file your desired folder.
Set up the Virtual Machine
Now that you have downloaded the ISO file, we will go ahead and Set up and Boot up the Virtual machine.
Step 1: Run UTM app if not already open.
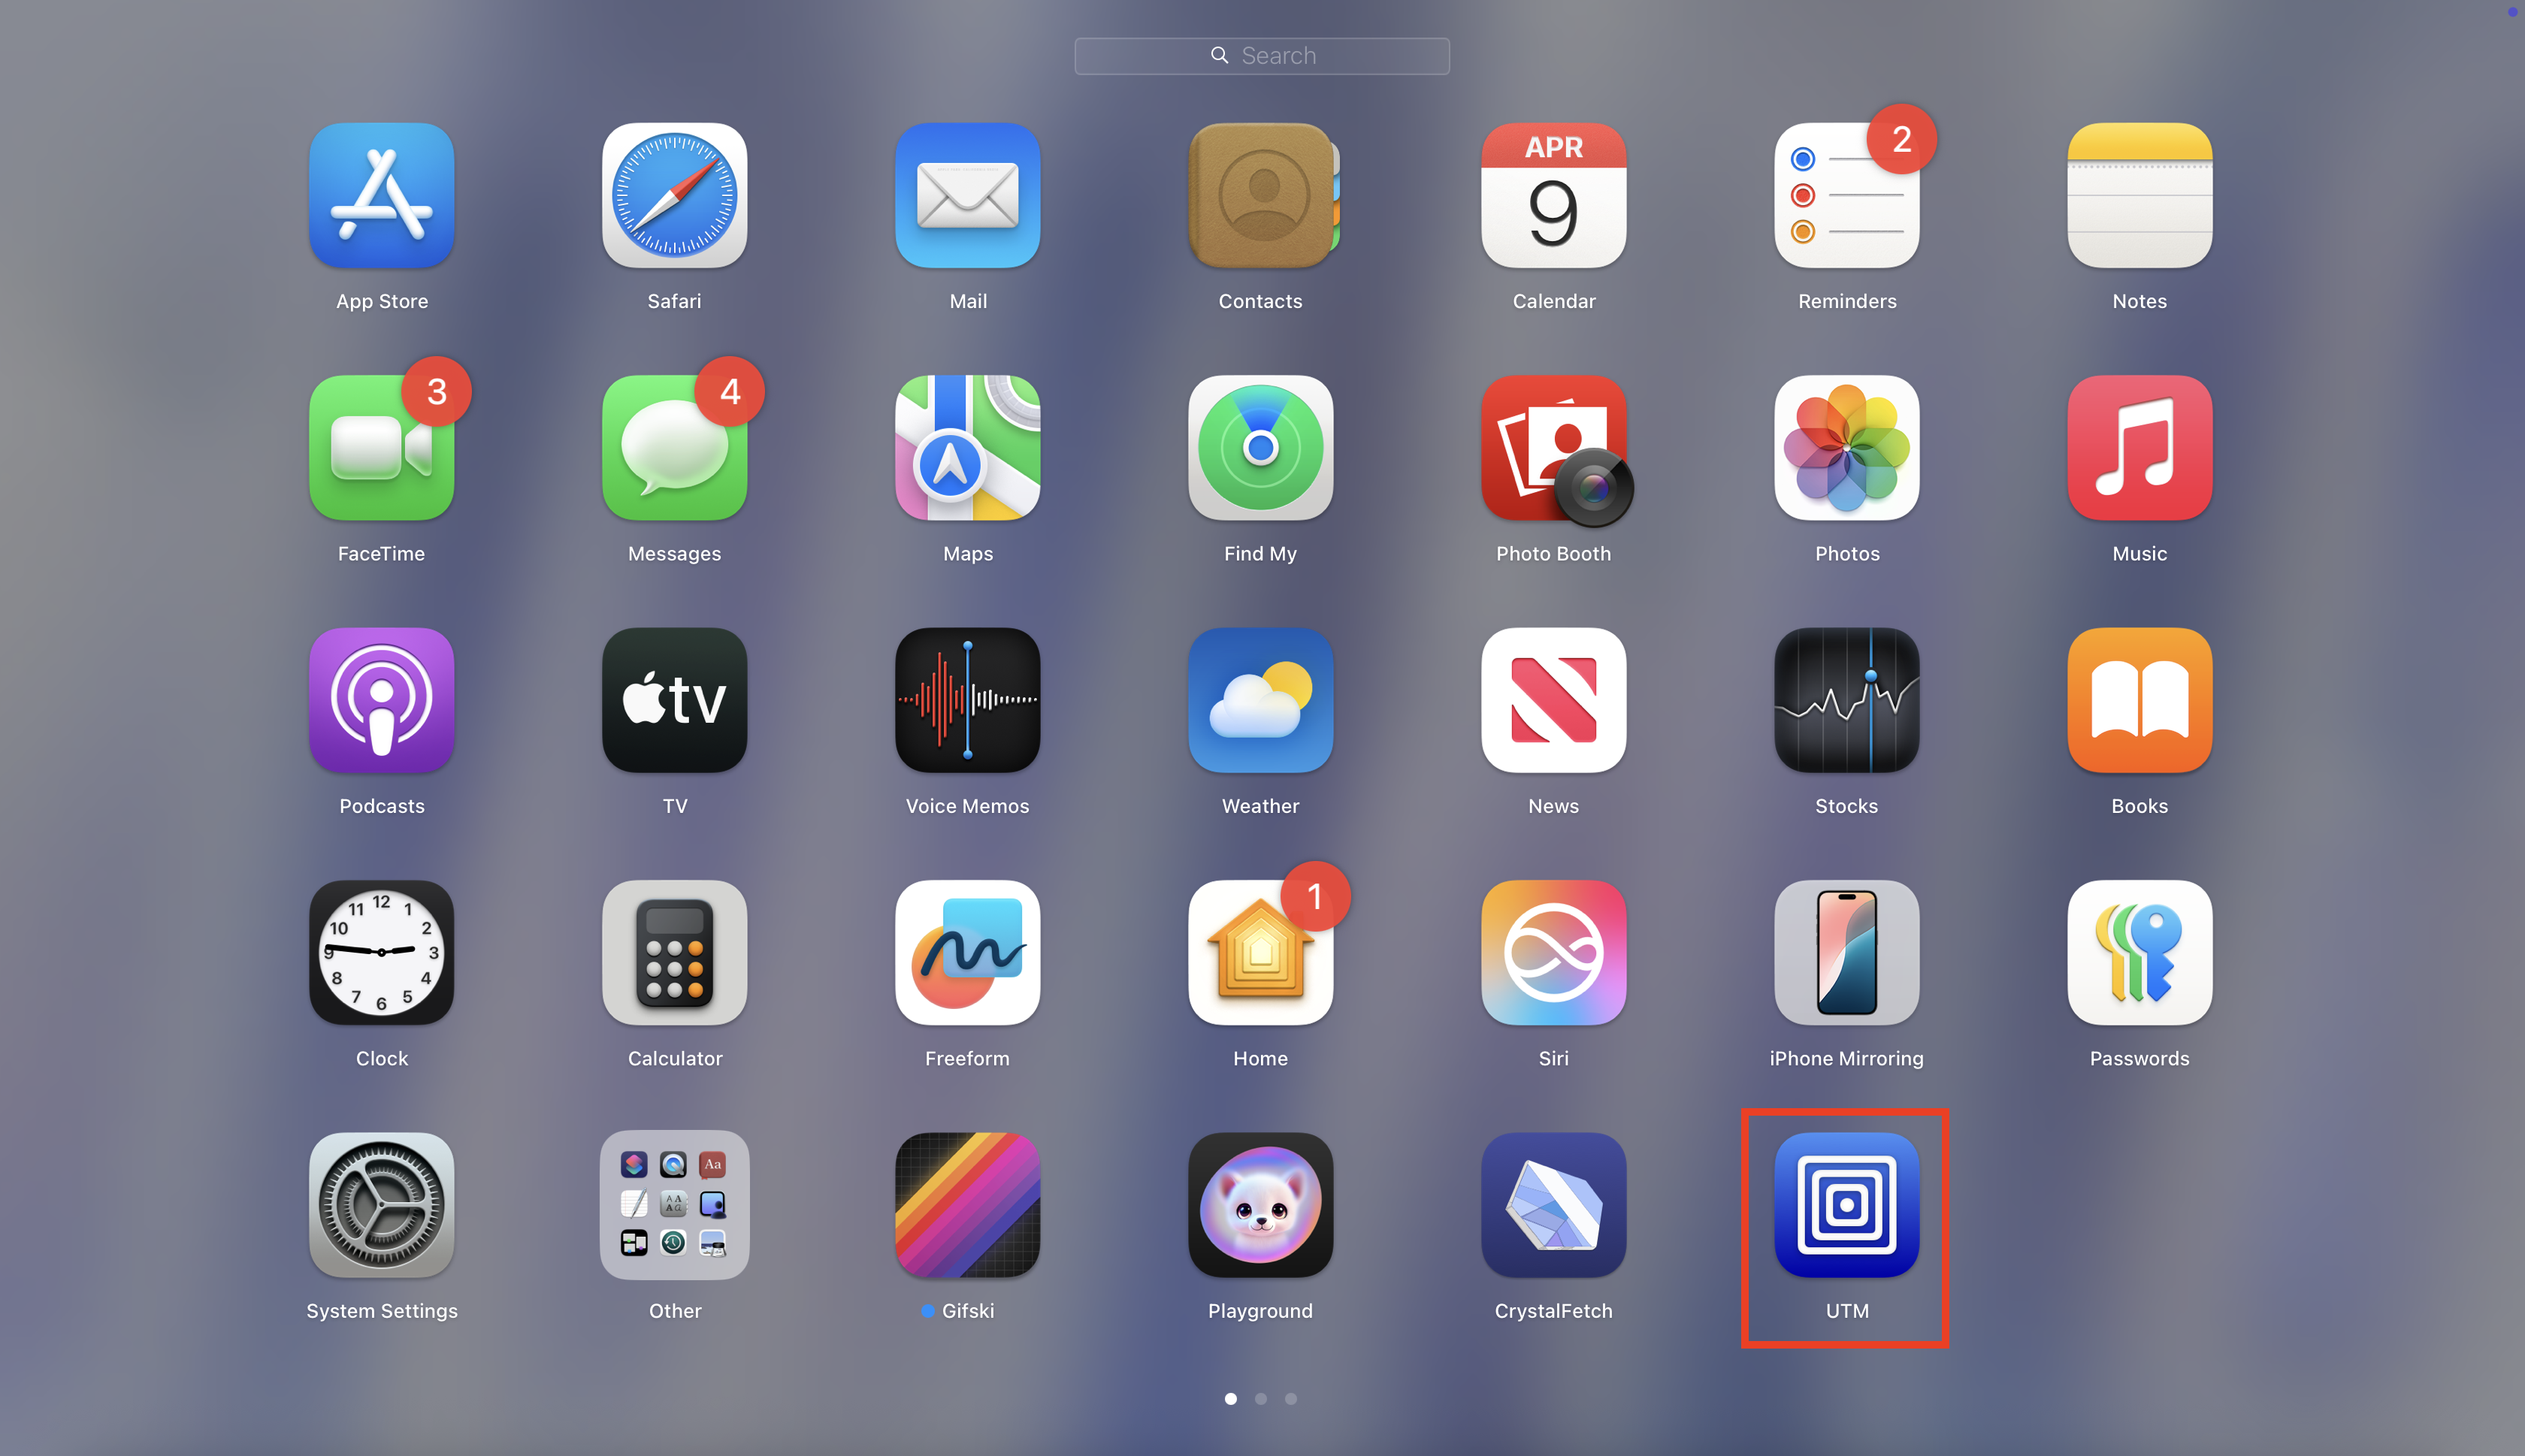
Step 1.1: Open Launchpad by clicking the following icon from the Dock.
Step 1.2: Click on the UTM Icon to open it.
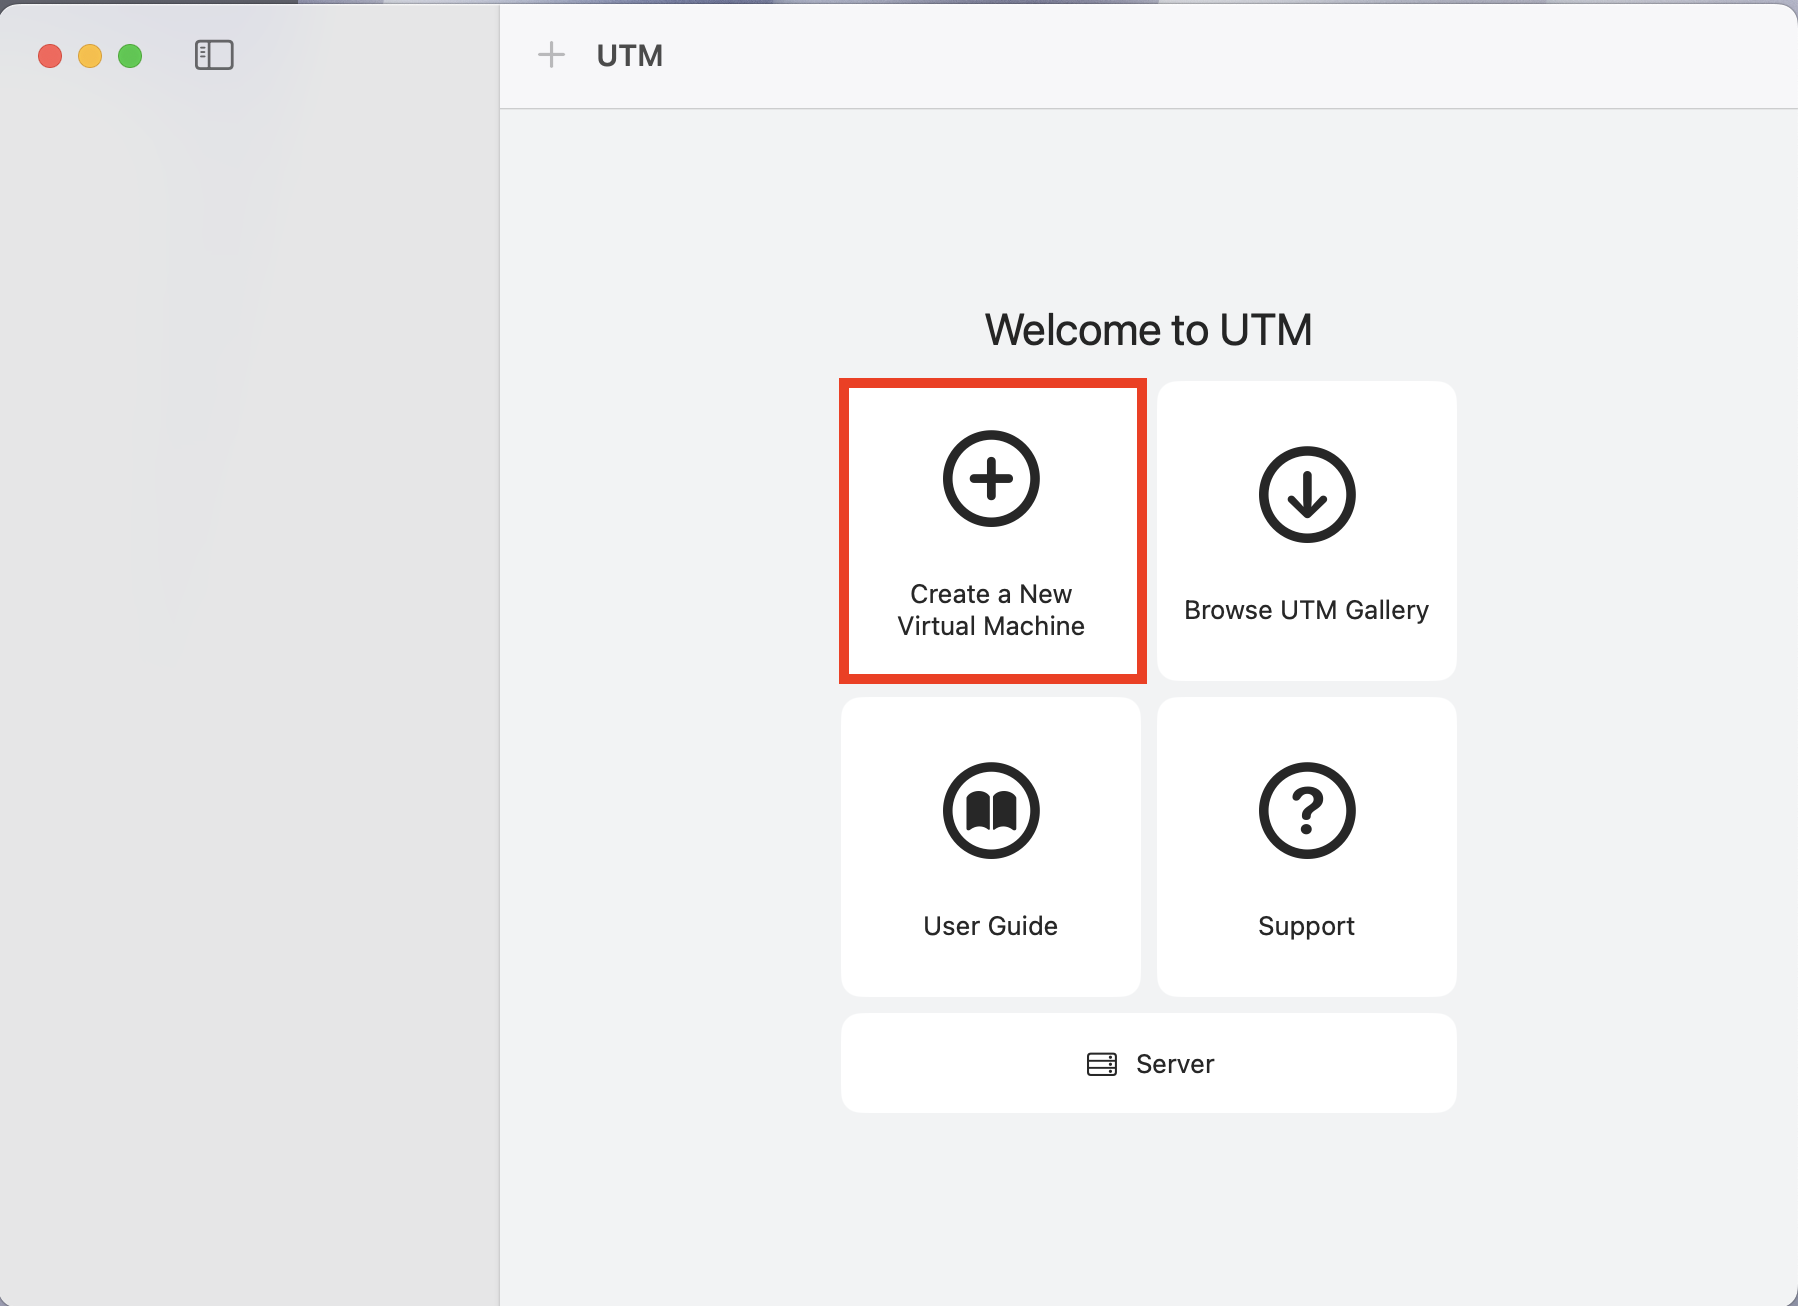
Step 2: Press the + icon to create a new Virtual Machine
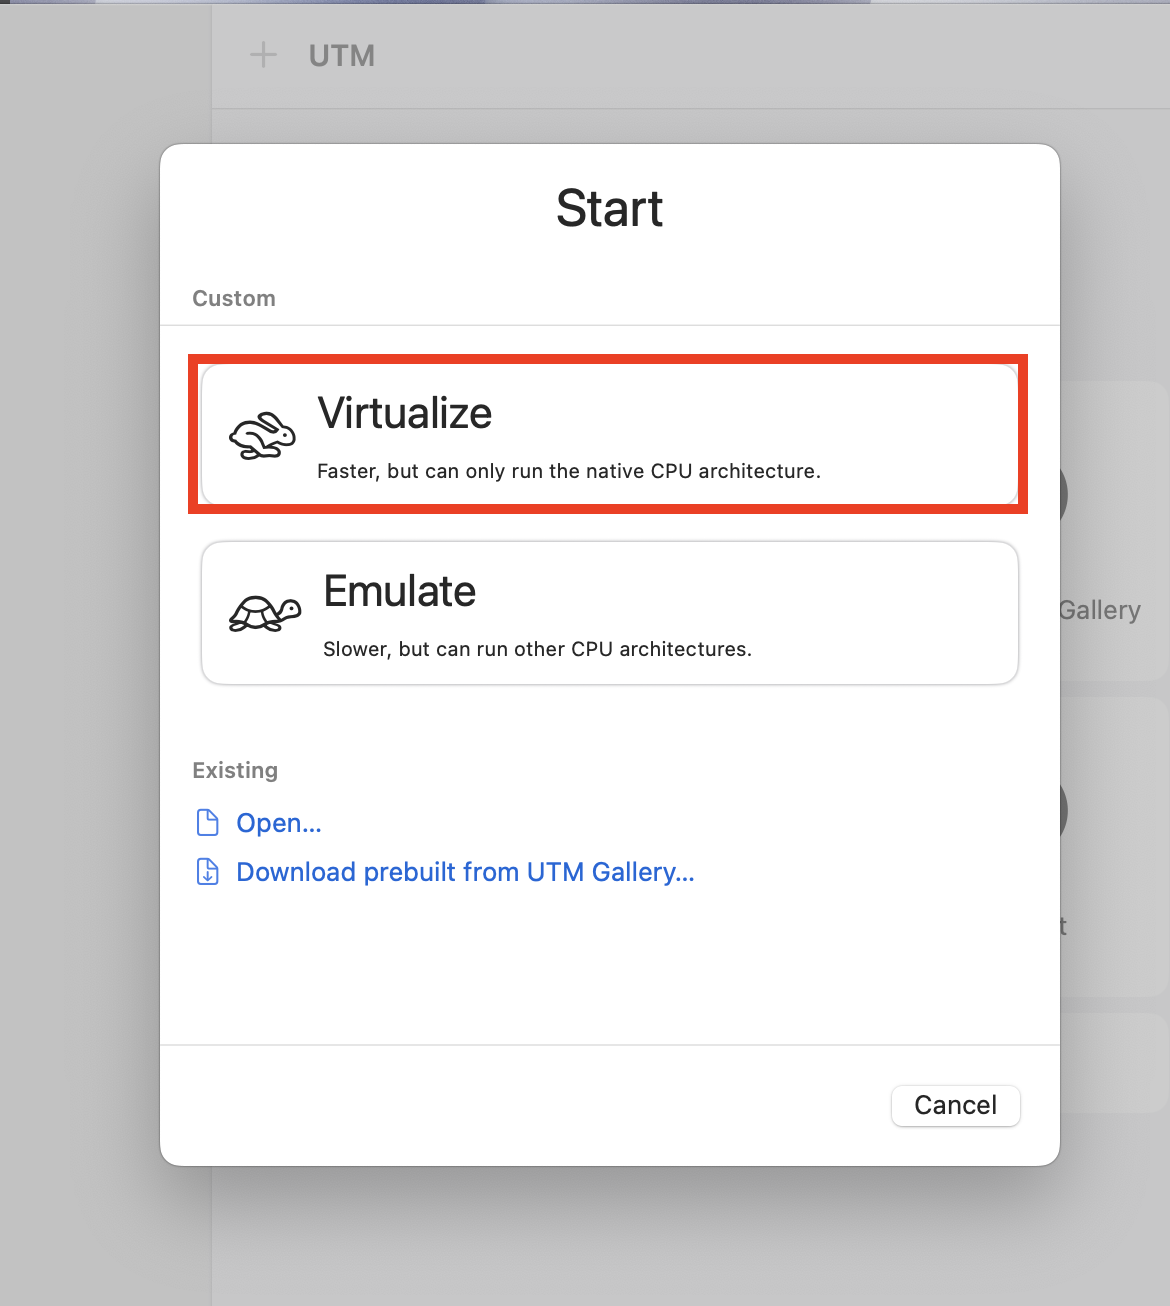
Step 3: Click on Virtualize
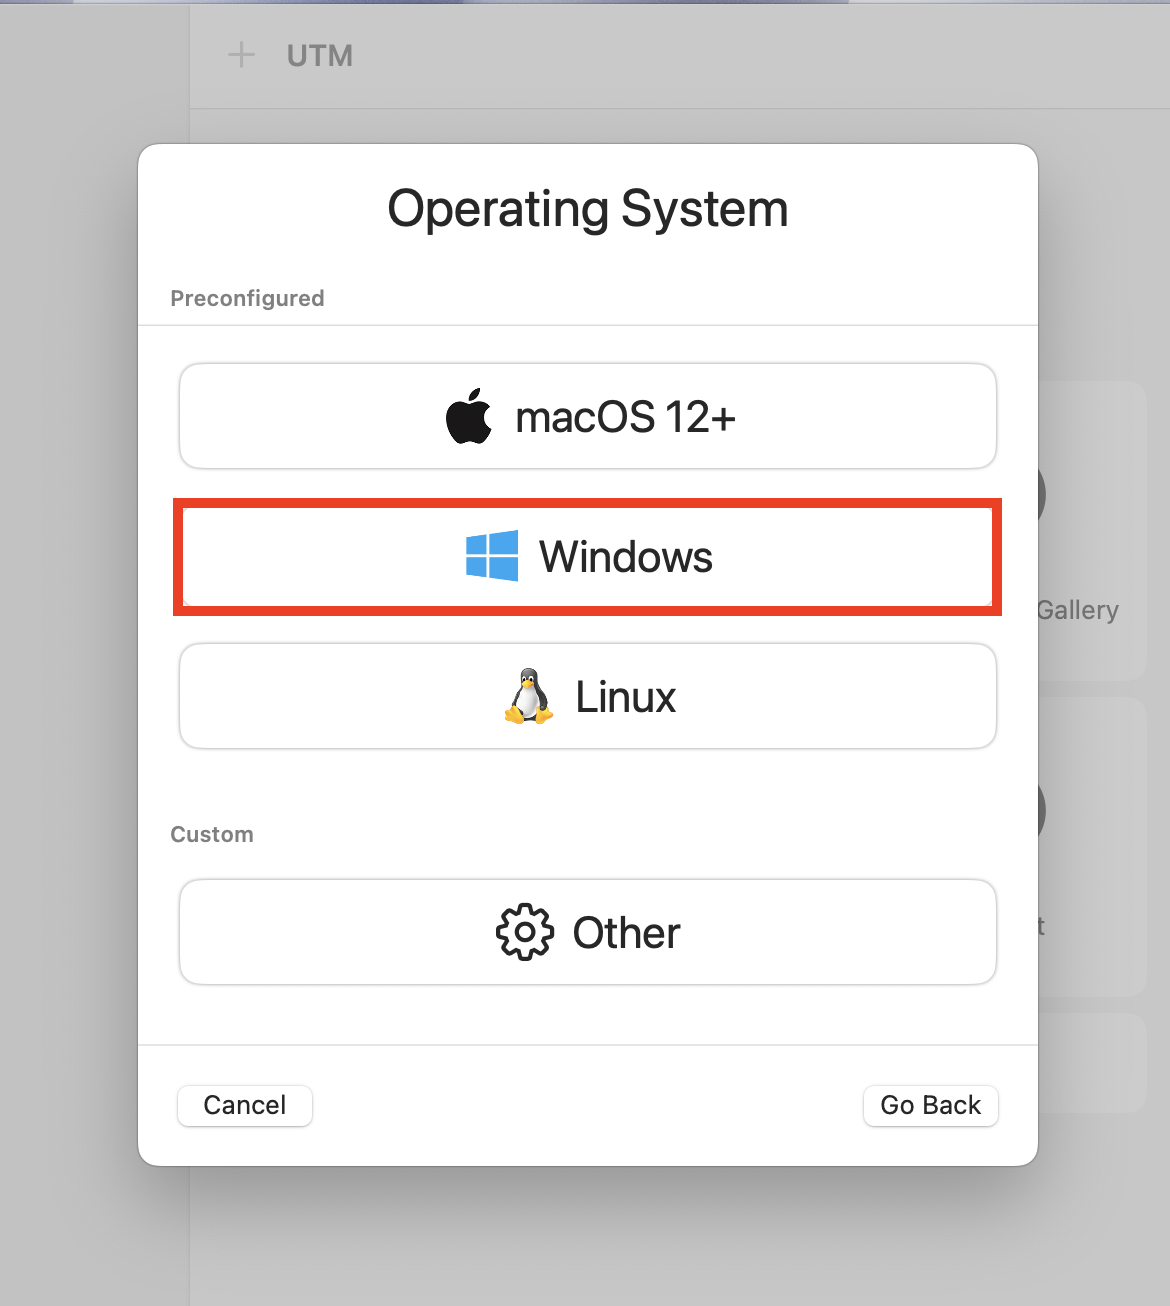
Step 4: Click on Windows
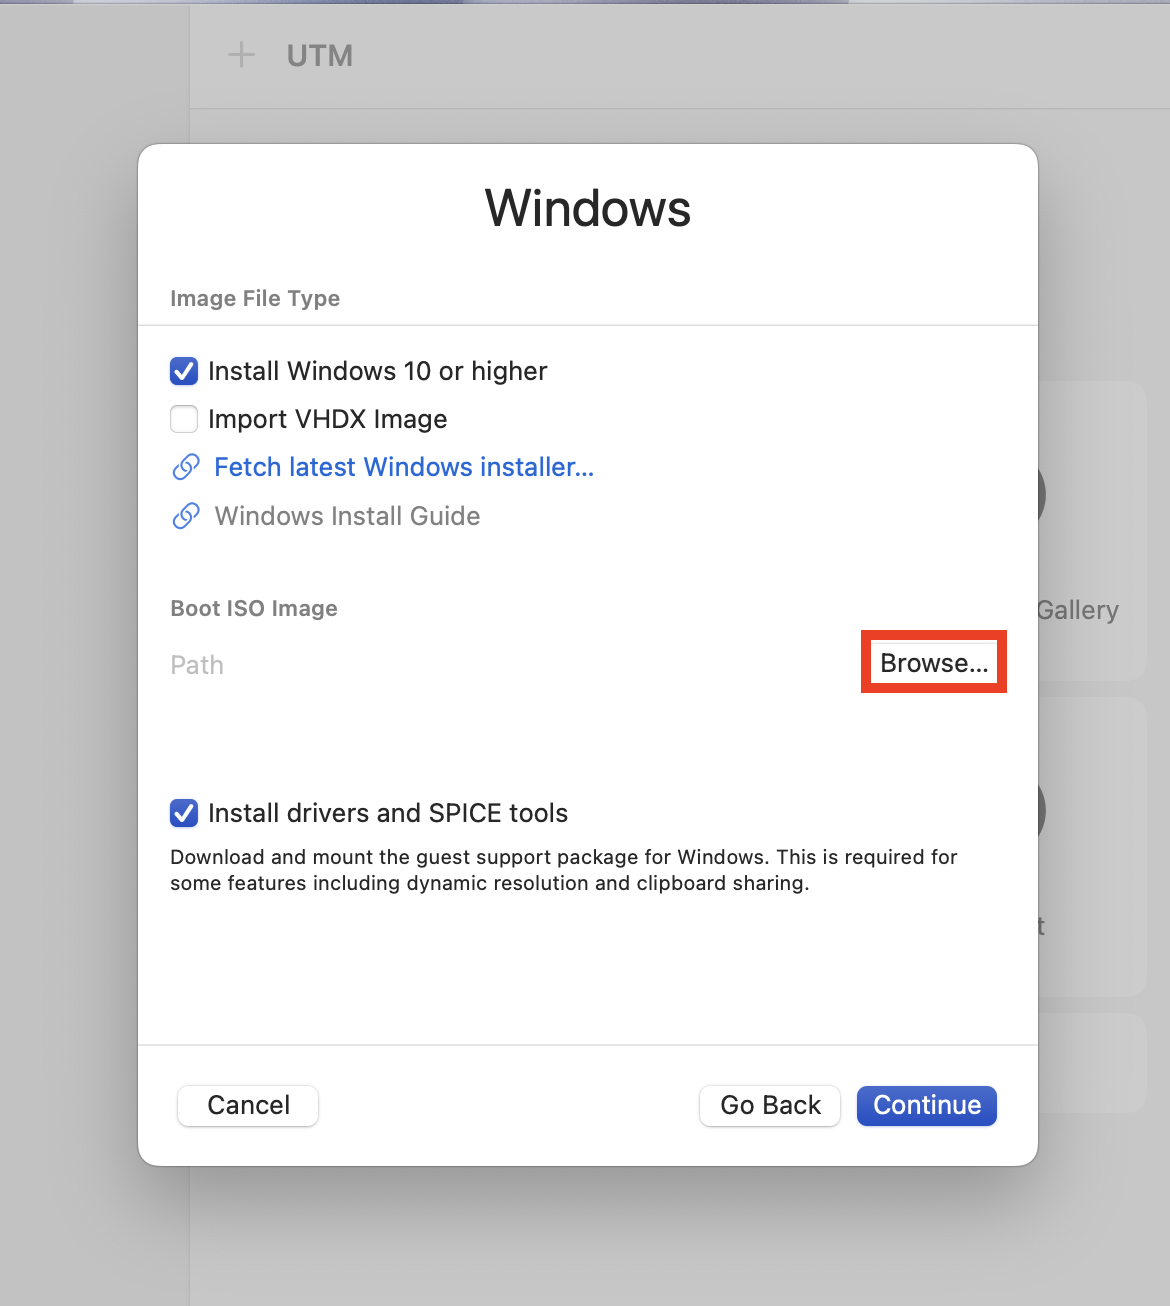
Step 5: Import the Boot ISO Image that you have downloaded earlier
Install Windows
This section is under construction and will be updated soon.